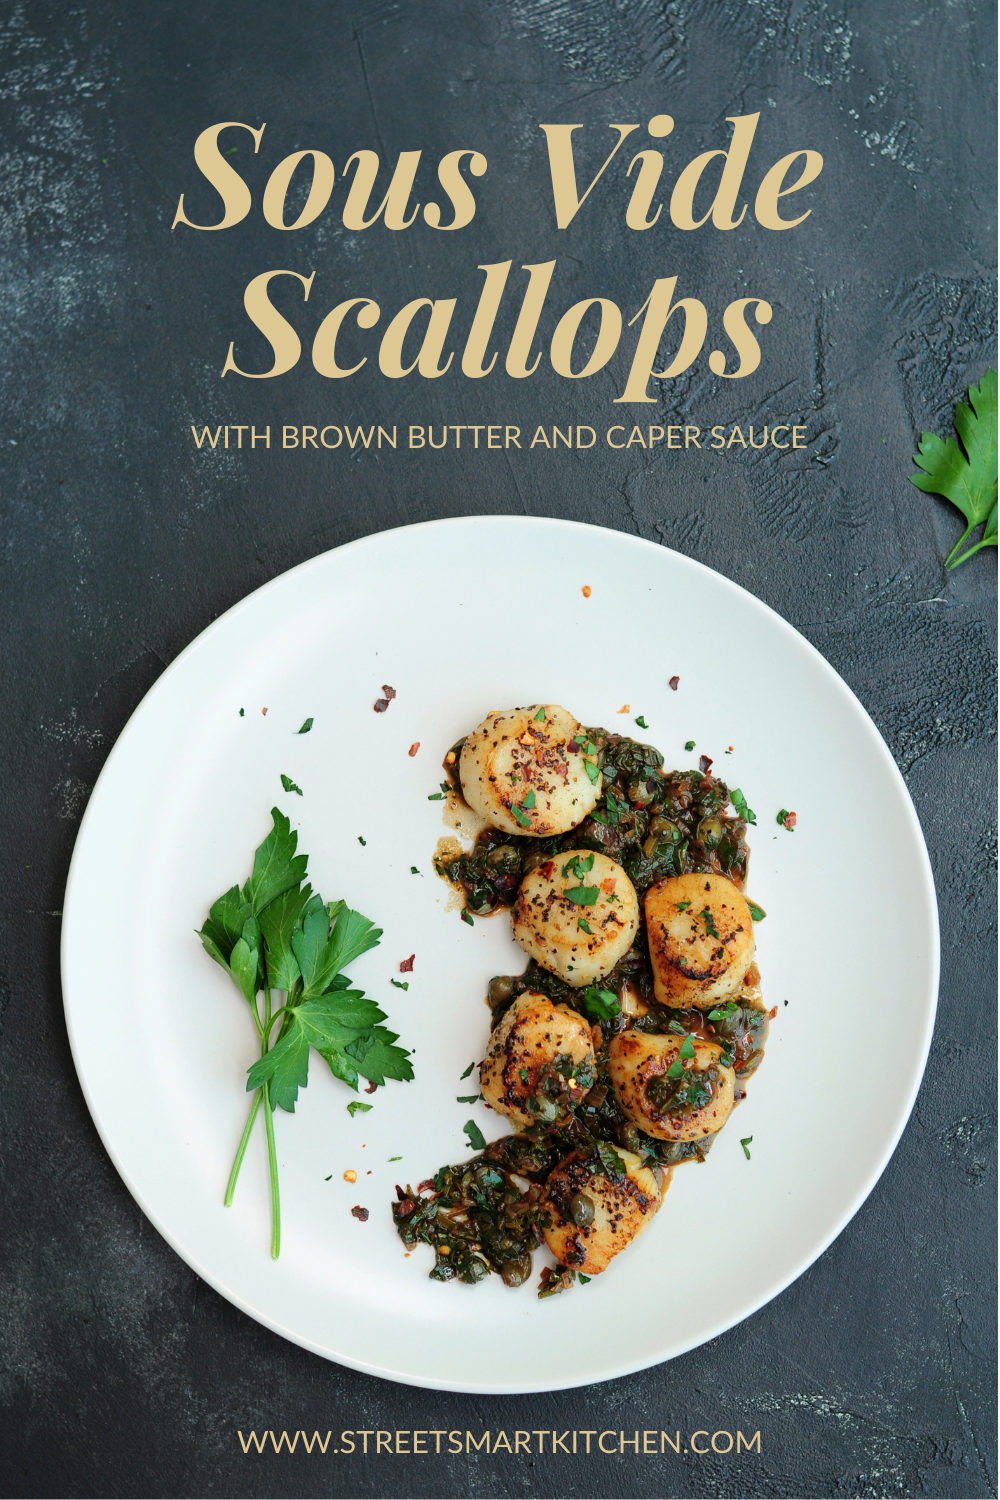
Sous Vide Scallops with Brown Butter and Caper Sauce
Perfectly tender and tasty sous vide scallops enhanced with brown butter, capers, lemon, and fresh parsley along with their own juice. Serve as a main course or an appetizer.
I LOVE scallops. I am talking about those ginormous-looking sea scallops! Since you are reading this article, my guess is that you do too. Scallops are actually super easy and quick to cook if you know how to cook them properly. If you are nodding your head, you probably agree that scallops are also super easy to overcook. Besides, sea scallops are so expensive. Oh boy!
- Cooking Scallops Sous Vide? Why?
- Sous Vide Scallops Cooking Time and Temperature (Fresh and Frozen)
- Four Essential Ingredients
- How to Cook Scallops Sous Vide Step by Step
- Brown Butter and Caper Sauce
- What Side Dish Goes Well with Scallops
- Sous Vide Scallops with Brown Butter and Caper Sauce
- About the Author
Cooking Scallops Sous Vide? Why?
I get it—some of us don’t want to take the risk of overcooking scallops at home because we don’t want to waste a lot of money. So occasionally, we order them at a fancy restaurant. They arrive looking marvelous, so artfully served…all three of them. (I don’t know about you, but three is never enough for me.)
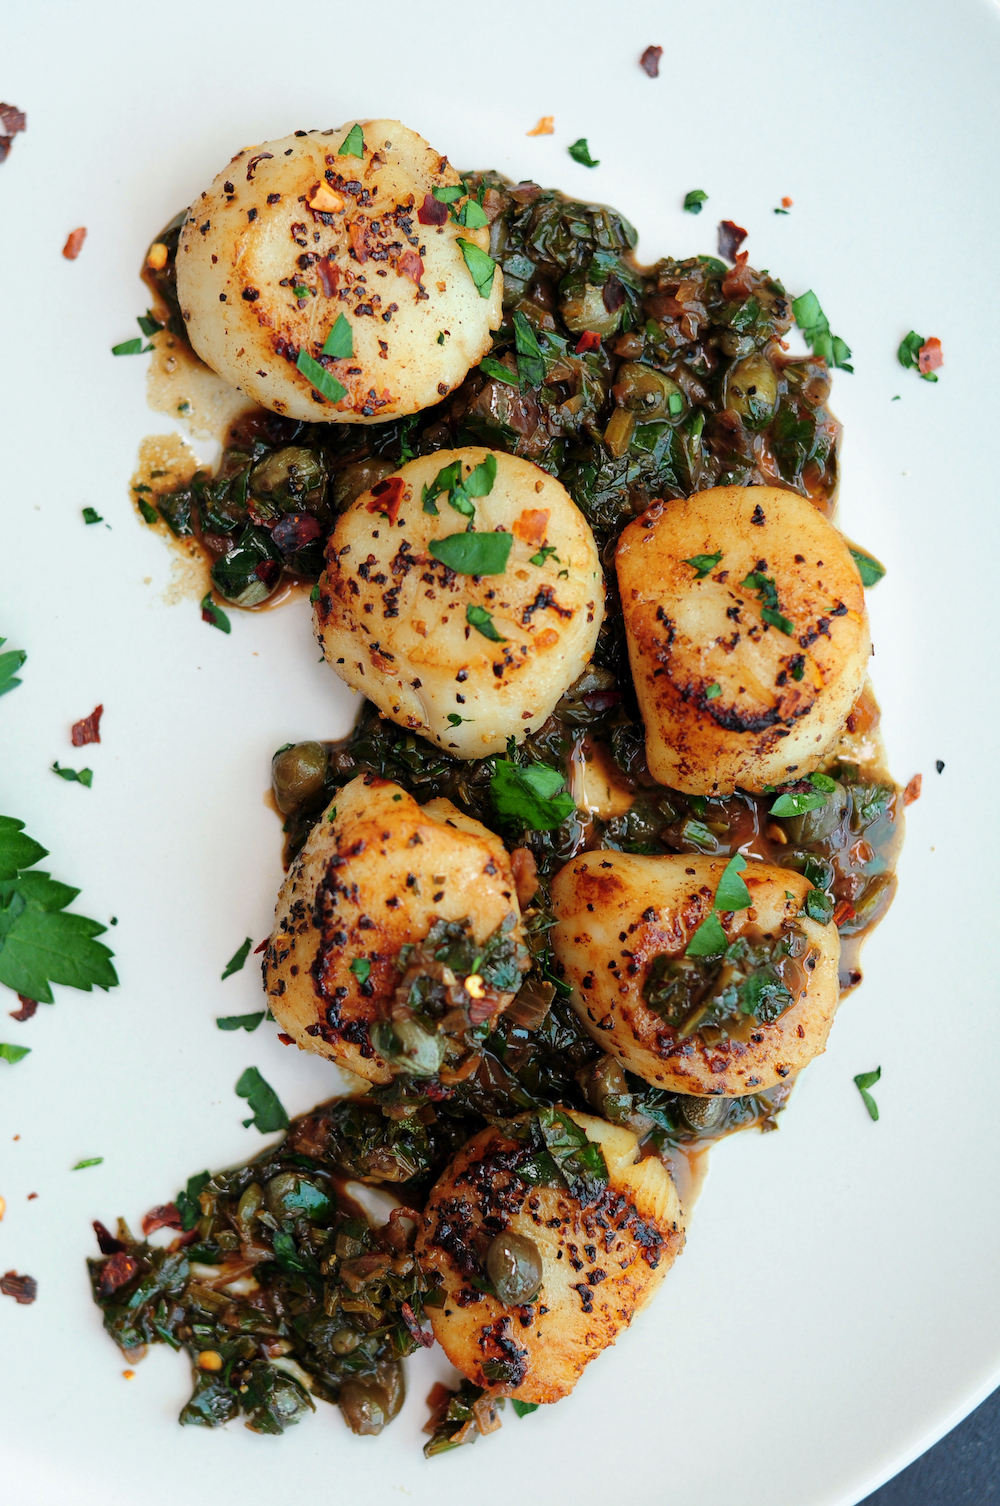
May I suggest an alternative?
With the sous vide method, you can make restaurant-quality sea scallops in your own kitchen at a fraction of the price, every single time. No more overcooked scallops, no more fear. Oh, and let’s be generous with the servings, shall we?
This is precisely why I want to show you how to sous vide scallops at home. Read on.
Sous Vide Scallops Cooking Time and Temperature (Fresh and Frozen)
Like most sous vide foods, depending on your desired texture for scallops, the cooking temperature varies. My favorite temp for sous vide scallops is 123°F (50.5°C).
And if you cook from frozen instead of fresh, it requires a longer cooking time. (Yes, you can cook frozen scallops sous vide!)
Here’s a quick chart for your reference.
- Fresh Scallop Cook Time: 30 minutes
- Frozen Scallop Cook Time: 45 minutes
| Cooking Temperature | Texture |
| 113°F (45°C) | Smooth and Silky |
| 123°F (50.5°C) | Tender and Smooth |
| 131°F (55°C) | Firm and Structured |
| 149°F (65°C) | Chewy and Springy |
Four Essential Ingredients
To cook scallops sous vide, you’ll need only four essential ingredients.
- Sea scallops: When shopping for sea scallops, give them a good look and smell. Fresh scallops should appear moist but not milky. Stay away from the ones with a feathery white surface (a sign of freezer burn) or dried and darkened edges (a sign of age). Fresh scallops should smell somewhat briny and seaweedy but not offensive, sharp, or at all like iodine.
- Salt: I don’t think one specific type of salt is better than another for this recipe. I used sea salt. You can use kosher salt, pink salt, or even table salt.
- Black pepper: Freshly ground black pepper is always better, but pre-ground black pepper will not ruin your scallops.
- Olive oil: I recommend a good extra-virgin olive oil for all your dedicated shellfish dishes, especially for sous vide cooking.
Once your scallops are perfectly cooked sous vide, you can make all sorts of delicious sauces to go with them after a quick sear, or you can throw them in curries, seafood stew, or even put them on a skewer. I often make a sauce with residual oil or butter from searing. In my Complete Sous Vide Cookbook, you will find a scallop recipe with lemon butter sauce, which was inspired by my pan-seared scallops. In today’s recipe, we’ll change things up with brown butter and caper sauce. It’s a good one!
Before we make the sauce, let’s get those beautiful scallops in the water for a swim.
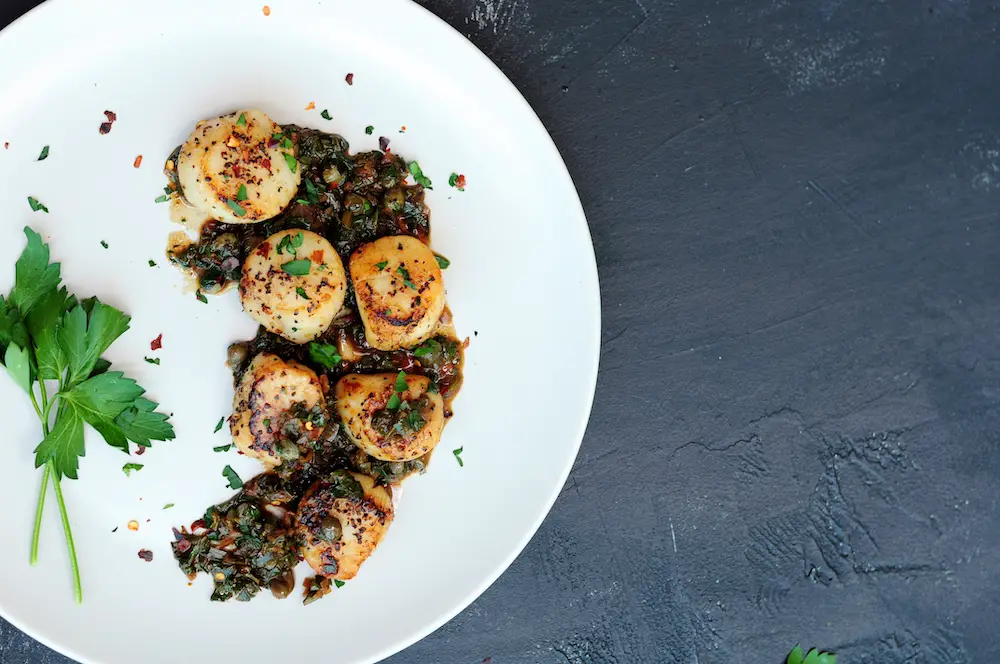
How to Cook Scallops Sous Vide Step by Step
Step 1: Set up your immersion circulator and preheat the water to your desired temperature according to the chart above.

Step 2: Rinse and pat the scallops dry with paper towels. Season with salt and pepper on both sides.

Step 3: In a sous vide bag, arrange the scallops in a single layer with some space in between. Add olive oil. (You can also use a ziptop-style plastic bag or a vacuum bag if you have a vacuum sealer.)

Step 4: Vacuum-seal the bag. (I used a reusable sous vide bag with a hand pump. If you prefer a Ziplock bag, you can apply the water displacement method to seal it but leaving space in between scallops might be tricky.)

Step 5: Place the sealed bag into the preheated water bath and make sure all scallops are submerged under the water. Weigh the bag down if necessary and set the timer for 30 minutes.

Step 6: Once the timer goes off, transfer the sous vide scallops onto a cutting board and pat them dry with paper towels. (I usually reserve the cooking juice to make a sauce.)

Step 7: Heat up a heavy-duty or cast-iron skillet over medium-high heat. Add butter, swirl, and wait until it foams. Place scallops in the skillet to sear for 20-30 seconds on each side. Work in batches and don’t overcrowd the skillet. Remember, your scallops are perfectly cooked already. All you need to do here is make a nice brown crust on the surface. A hot pan and a very quick sear will do.

Follow the steps above to make the perfect scallops without any concerns. I promise that they will come out exactly the way you like them. You may enjoy them as is at this point. They are delicious. As mentioned earlier, if you feel intrigued, let’s go a step further to whip up a quick sauce for the scallops.
Brown Butter and Caper Sauce
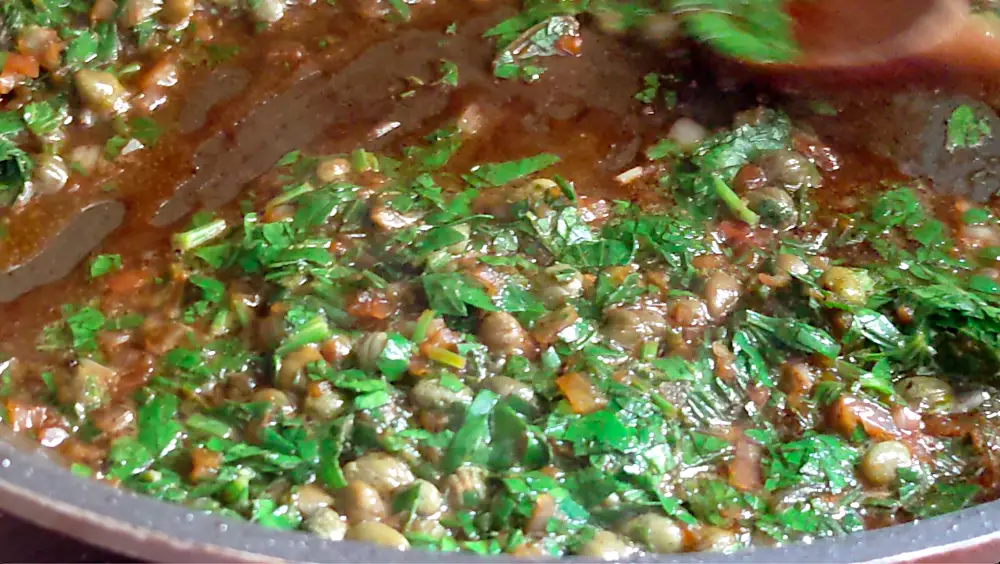
The finishing step of sous vide scallops will leave you with some brown butter in your skillet. No need to wash up yet. We are going to sauté some shallot and capers in the scallop-infused butter, followed by fresh lemon juice, the reserved cooking juice from your sous vide bag, and a decent amount of chopped fresh parsley. I also added a pinch of crushed red pepper flakes for a kick. Hmmm… Can you imagine the complexity of the flavors now? Try it, seriously. The sauce takes less than 5 minutes to make.
One quick note: The heat and citric acid from the lemon juice are going to make parsley wilt and lose its bright green color very quickly. If you’d like to keep it green, remove the sauce from heat before adding the parsley.
What Side Dish Goes Well with Scallops
Last but not least, here are some side dish inspirations for a full balanced scallop meal if you serve them as a main.
- Seafood Quinoa Salad is an excellent choice when you substitute shrimp or tuna with scallops from my original recipe.
- Roasted Brussels Sprouts with Crispy Garlic and Almond
- Massaged Kale Salad with Pine Nuts and Dried Cranberries
- Kale Quinoa Salad with Oregano Lemon Vinaigrette
- Mashed potatoes, sweet potatoes, or cauliflower
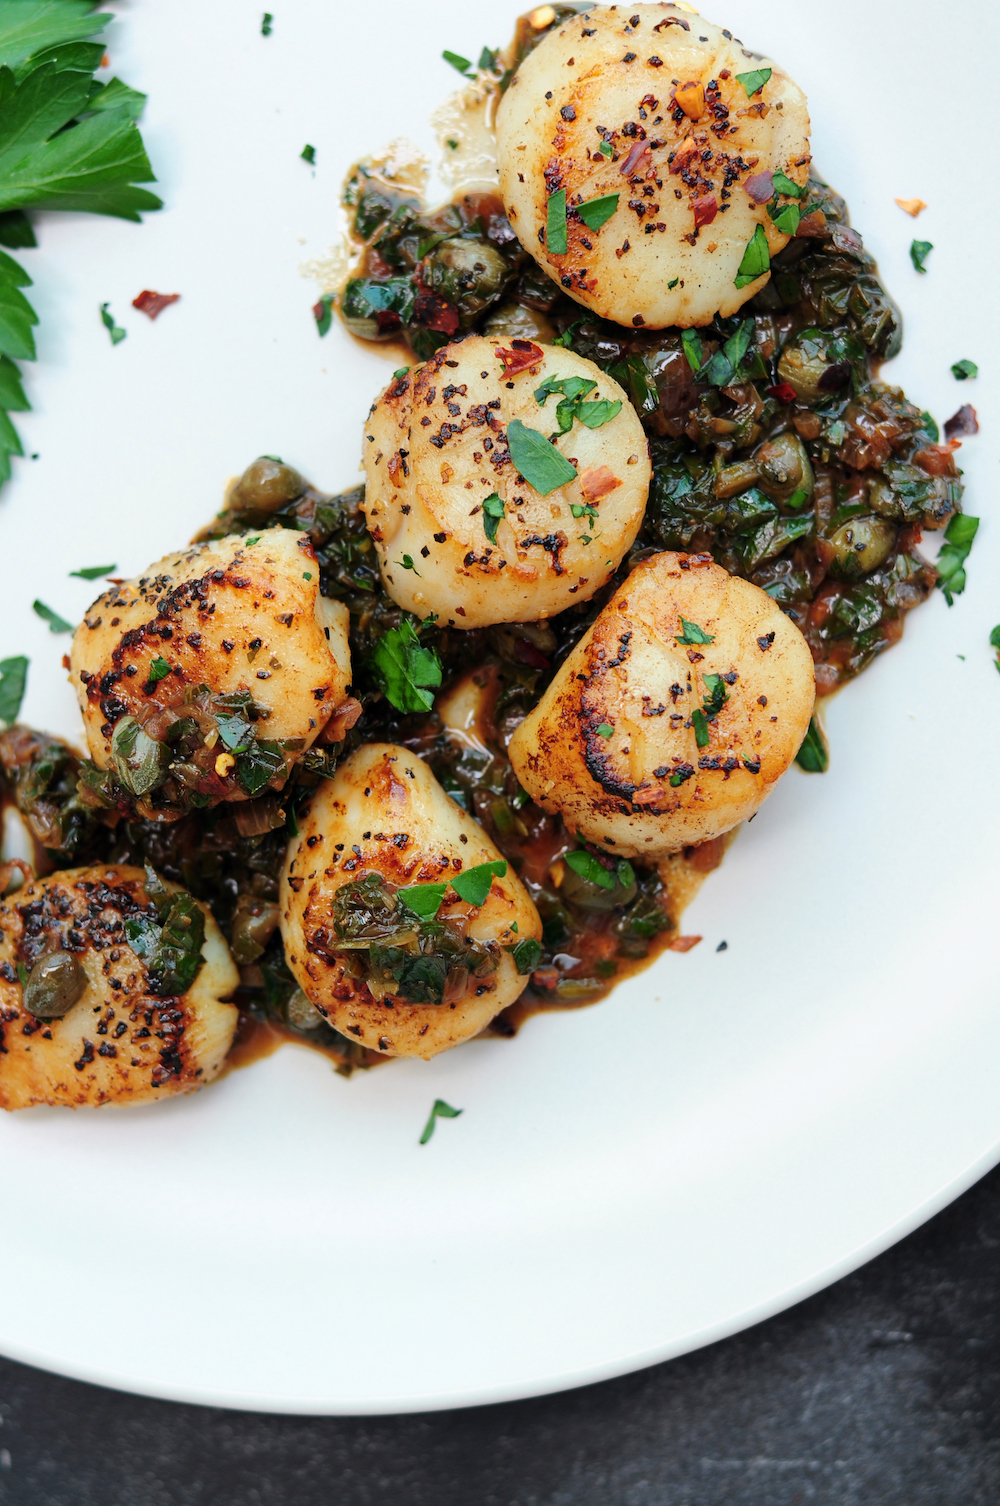
Sous Vide Scallops with Brown Butter and Caper Sauce
- Prep Time: 15 minutes
- Cook Time: 40 minutes
- Total Time: 55 minutes
- Yield: 4–6 servings 1x
- Category: Seafood
- Method: Sous Vide
- Cuisine: American
- Diet: Gluten Free
Description
Perfectly tender and tasty sous vide scallops enhanced with brown butter, capers, lemon, and fresh parsley along with their own juice. Serve as a main course or an appetizer.
Ingredients
- 18 fresh sea scallops, rinsed and patted dry
- Sea salt
- Freshly ground black pepper
- 1/4 cup olive oil
- 1/4 cup unsalted butter
- 2 tablespoons finely chopped shallot
- 3 tablespoons salt-packed capers, rinsed of excess salt
- Juice of a lemon
- 1/2 cup (packed) flat-leaf parsley leaves, finely chopped
- 1/4 teaspoon crushed red pepper flakes (optional)
Instructions
- Preheat water to 123°F (50.5°C) using a sous vide machine. (I use the Anova precision cooker.)
- Season scallops with salt and pepper. In a large sous vide bag, arrange them in a single layer with a bit of space between them. Add olive oil, then vacuum-seal the bag, maintaining the space between the scallops.
- Place the bag in the heated water. Weigh it down if necessary to keep the scallops submerged during cooking. Set the timer for 30 minutes.
- When the timer goes off, remove the scallops from the bag and pat them dry with paper towels. Reserve the cooking juice.
- In a heavy-duty skillet, heat butter over medium-high heat until it begins to foam. Place the scallops in the skillet in a single layer, about 1 inch apart. Sear each side for about 20 seconds until golden brown, undisturbed. Transfer the scallops to a plate and cover to keep warm.
- In the same skillet over medium-high heat, add shallot and capers, sauté for 1 minute, then add lemon juice and the reserved cooking juice. Stir in chopped parsley and red pepper flakes if using.
- To serve, scoop some brown butter and caper sauce onto a warmed plate. Place 3-5 scallops over the sauce; scoop more sauce on the scallops if desired. Garnish with fresh parsley. Repeat with the rest of the scallops. Enjoy!
Nutrition
- Serving Size: 1
- Calories: 217
- Sugar: 0.5g
- Sodium: 458.1mg
- Fat: 17.6g
- Saturated Fat: 6.2g
- Carbohydrates: 4.5g
- Fiber: 0.5g
- Protein: 11.3g
- Cholesterol: 41.9mg
About the Author
Sharon Chen is an Integrative Nutrition Health Coach and author of the Complete Sous Vide Cookbook. She believes food not only brings healing but also connection. As the creator of StreetSmart Kitchen, she aims to make meal prep easier than ever and help you find balance, ease, joy, and simplicity in the kitchen as you improve your well-being.


Such a great way to infuse extra flavor in the scallops! I love the sauce
Great to hear. Thank you, Michele!
I love how tasty and flavorful it is!! It was a really huge hit at my house!
The brown butter sauce is out of this world tasty. Works perfectly with the scallops.
Needed a fancy recipe as my parents are coming over for dinner for the first time since lockdown. Many months! So wanted to give them a treat. This recipe looks ace and I know they will love it. Thanks so much.
Great. Hope your parents enjoy this recipe!
These look absolutely perfect for serving to guests! With summer approaching, seafood is more widely available and these scallops look amazing!
Thank you, Dolly!