How To Make Minced Garlic at Home {Video}
A step-by-step photo and video guide to show you how to make minced garlic at home, which can save you so much time and hassle while cooking. It’s a trick often used in restaurants.
How many times did you come across a recipe that calls for minced garlic?
Unlike green onions, ginger or other herbs that you can just rinse and chop up when needed, garlic requires a certain amount of work to prepare before using. Minced garlic, one of the most commonly used ingredients in either restaurants or home cooking, appears very often in recipes.
What do you do when you need minced garlic for cooking?
Do you manually pick off some garlic cloves from the bulk; try to carefully peel off the skin until you lose your patience; spend a good couple minutes finely chop them? By the time the actual cooking starts, 10 minutes have gone by and you feel you’ve done so much work already.
Or, maybe you have a handy garlic press in your kitchen.
Or, you purchase bottled minced garlic directly from the grocery store to avoid all that hassle and save time.
We are absolutely on your side when it comes to saving that precious time and being able to just scoop up some minced garlic whenever we need so that we can start cooking right away. Having pre-prepared minced garlic at all times in the kitchen has been one of the essentials of our daily cooking. However, we prefer to crush a fresh garlic bulk from the farmer’s market and mince it at home, not just for cooking one dish, but for making multiple meals in the next couple of weeks.
This trick was taught by a restaurant owner in San Francisco. We have been applying it to our home cooking ever since then and it makes our lives so much easier. The secret of making chopped garlic last longer is to soak it in olive oil. It prevents the garlic from turning green and preserves the freshness.
With the right tool, making homemade minced garlic that lasts for weeks is actually trivial. Here’s a step-by-step instruction to show you how to mince garlic and store it. Hope you find it helpful.
Part One: Remove Garlic Skin
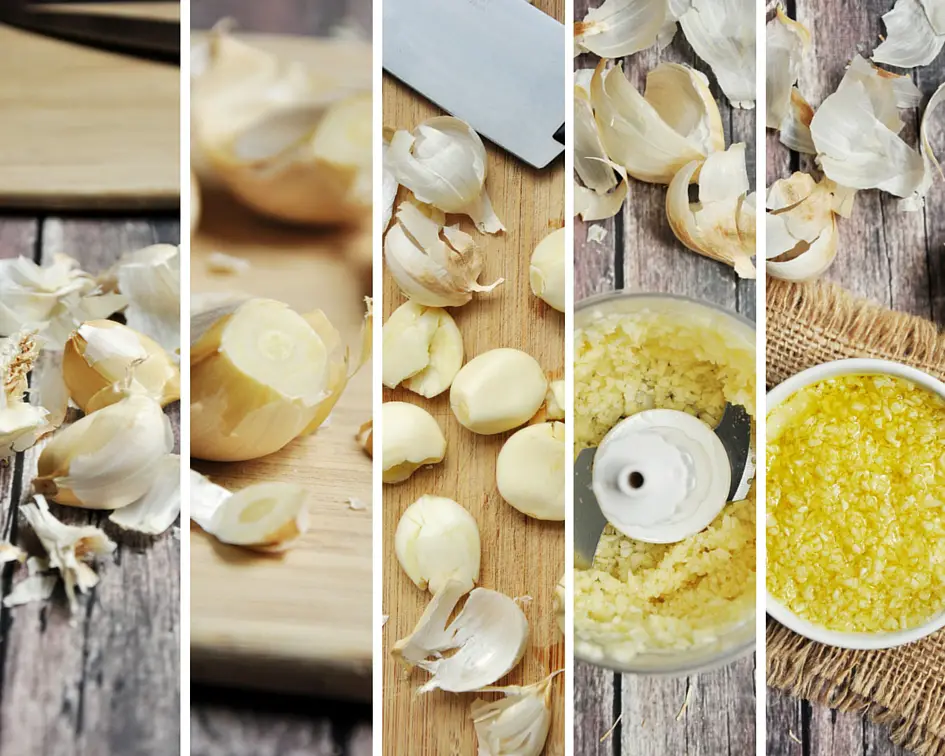
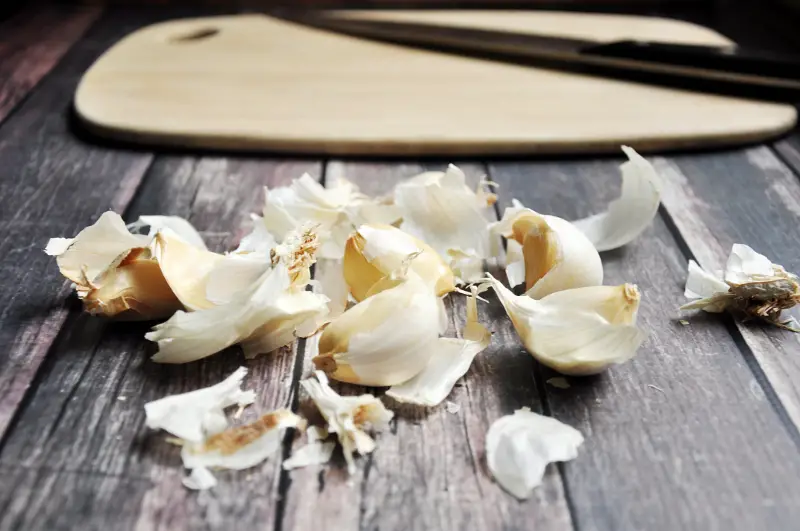
1. Break off the cloves from a garlic head.
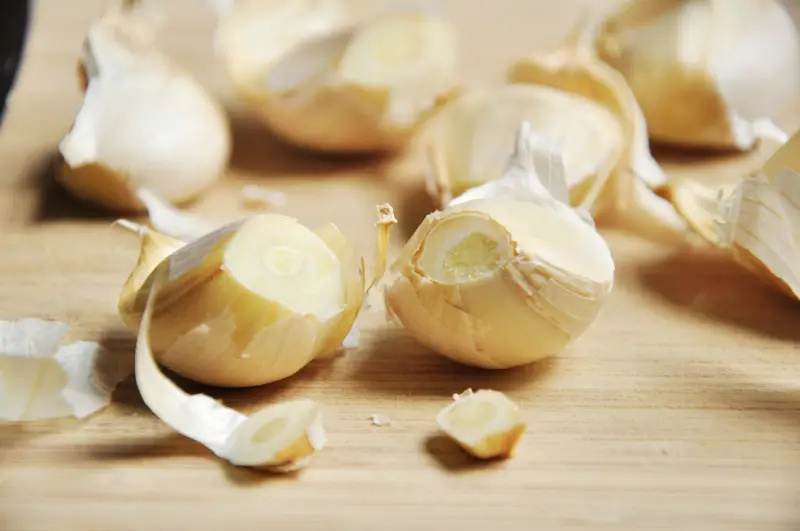
2. Cut off the ends of each clove.
3. Place the flat side of a clove against your cutting board.
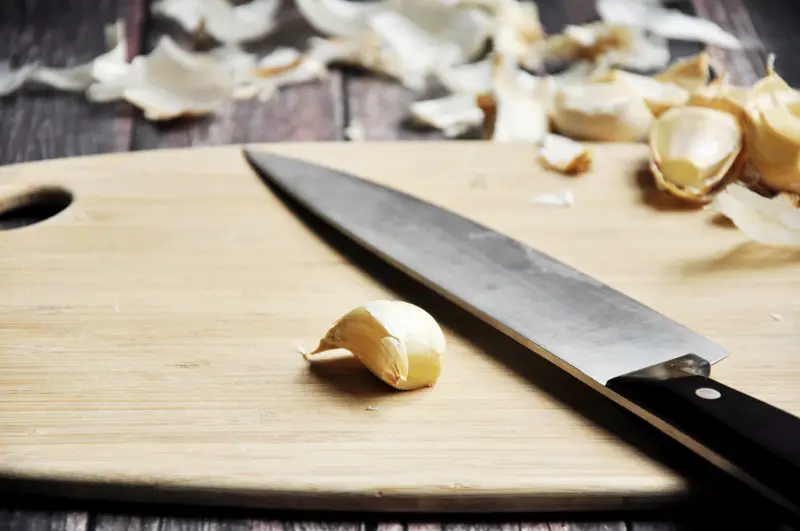
4. Use your chef’s knife with one hand holding the knife handle; place either flat side of your knife against the garlic clove; make sure that the sharp side of the blade is facing away from you and the garlic clove is closer to the handle of the knife.
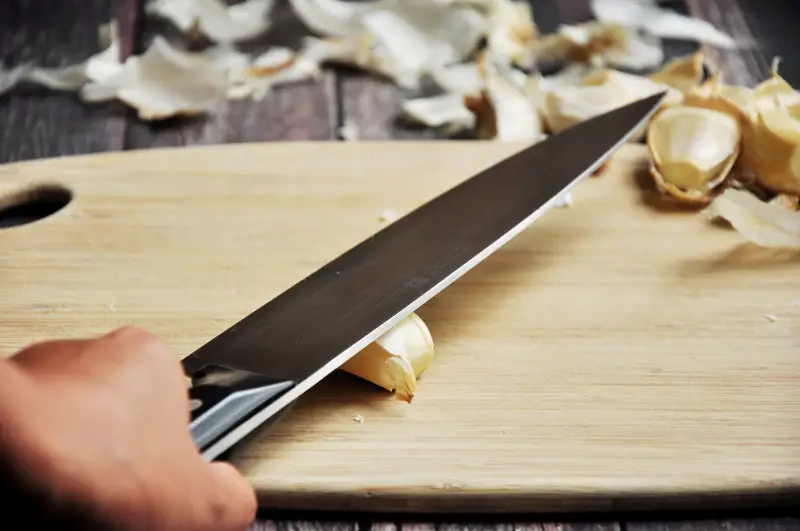
5. Press down on the side of the knife blade against the garlic clove strongly with the palm of your free hand. Or just give it a punch if you have small hands.
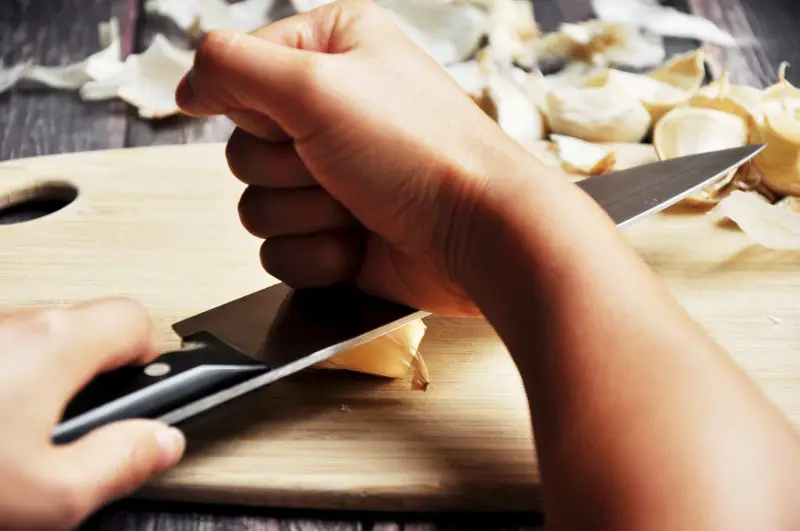
6. At this point, the garlic clove is a little smashed and the skin is pretty much completely detached from the garlic.
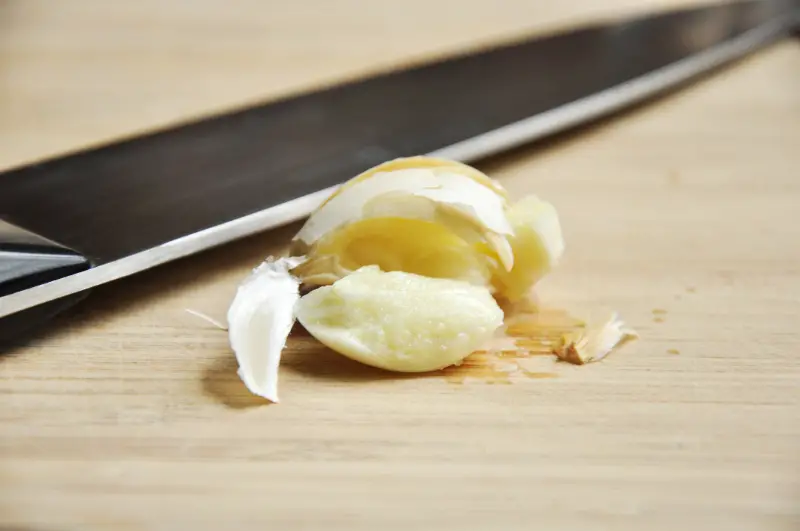
7. Easily remove the skin with your hands. The skin should come right off.
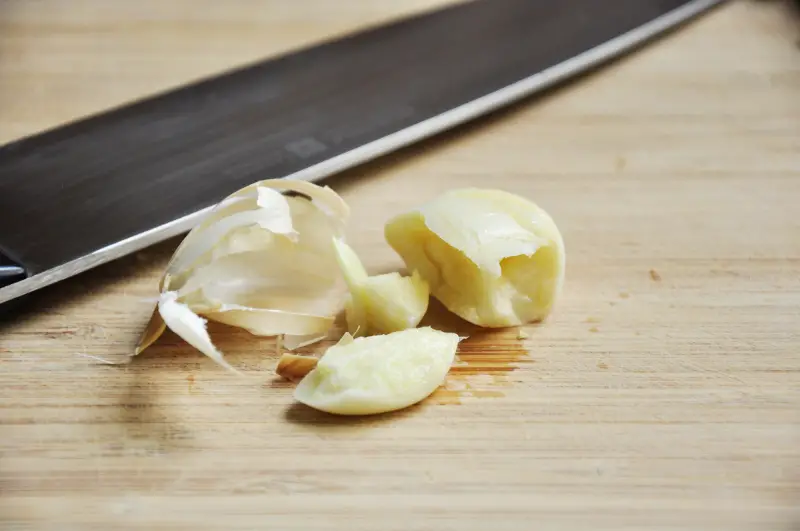
8. Do the same with the rest of the garlic cloves.
Part Two: Mince Garlic And Preserve
9. If you have an electric chopper, now is the perfect time to use it. A good blender/food processor like Ninja will work as well. Otherwise, mince garlic using a chef’s knife.
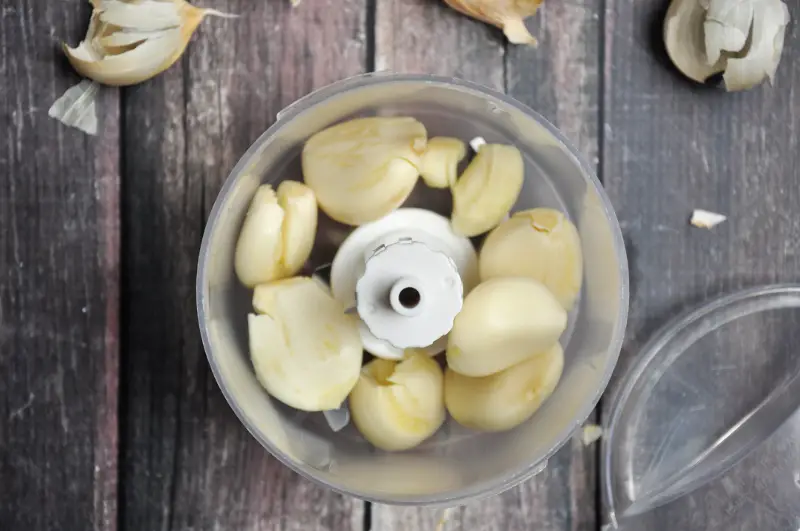
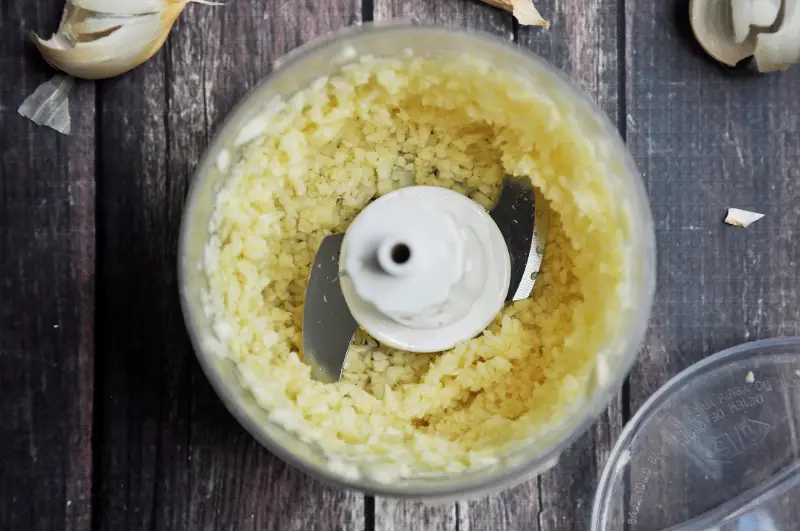
10. Place chopped garlic in a small bowl or a small container with a lid; slowly pour extra virgin olive oil into the bowl until the garlic is completely covered by the oil. The amount of oil you use depends on the size of your garlic. Give it a gentle stir.
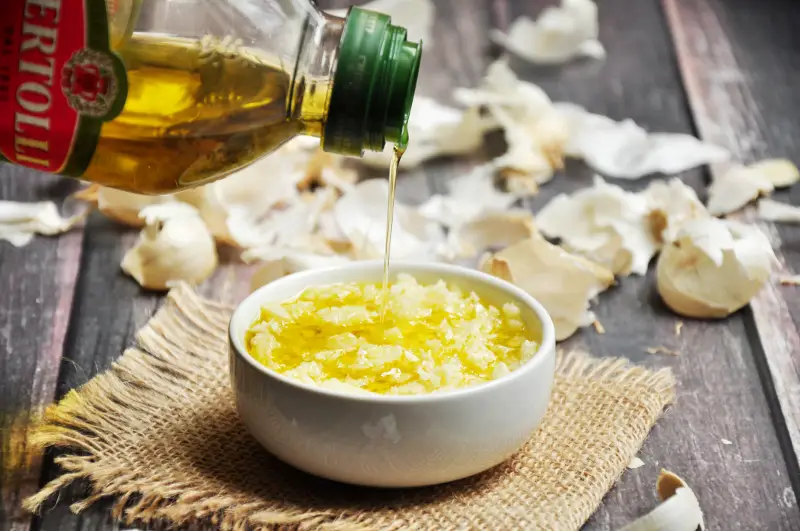
11. Now cover it with a plastic wrapper or a lid and keep refrigerated. The homemade minced garlic can be stored in the fridge for at least two weeks. To use, take it out from the fridge and scoop up the desired amount (1 teaspoon minced garlic approximately equals to 1 medium clove of garlic) with a clean spoon and store the rest of the garlic back in the fridge until next time.
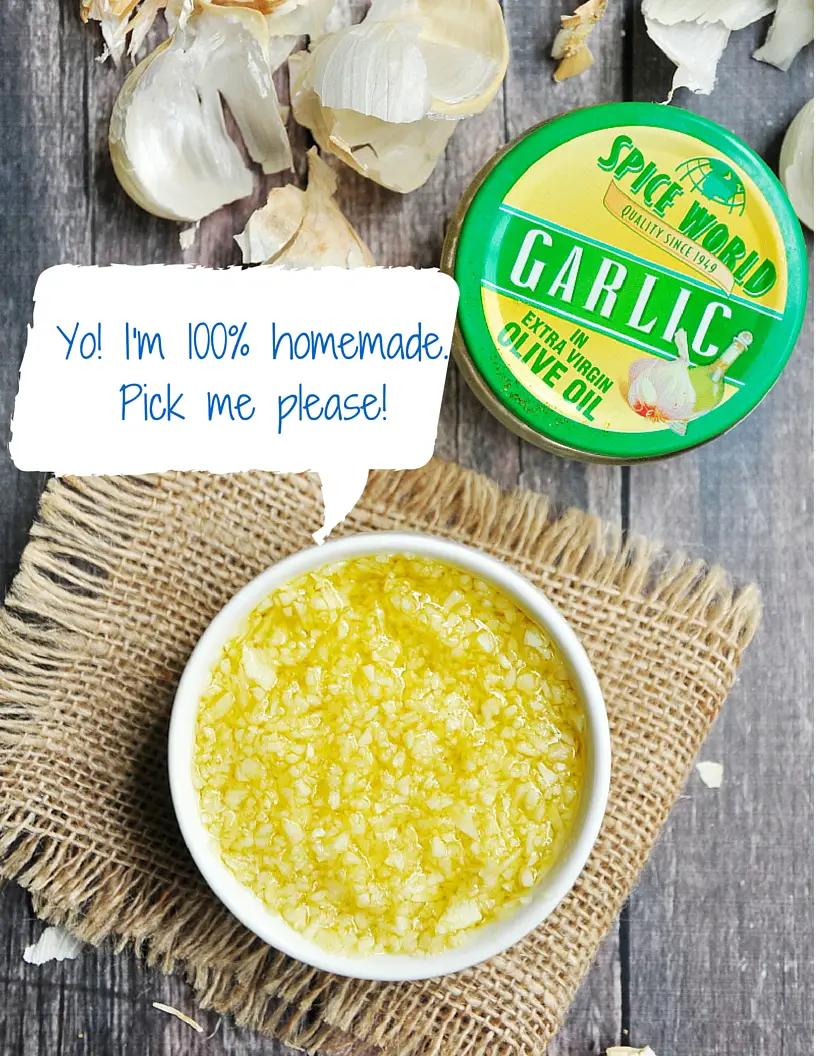
Please note that you want to keep the garlic with oil in the fridge at all times when not using it. We usually prepare one bulk of garlic at a time and use it all before making another batch. How long does one batch last for us? Usually one to two weeks. If you find your homemade minced garlic has been sitting in your fridge for over two weeks, we suggest you toss it.
Here you have it. This is exactly how we make homemade minced garlic to keep in the kitchen at all times. Now, you can do it too. Hope you find this trick useful. Once you get a chance to try it, leave a comment below and let us know how you like it. Happy cooking!

About the Author
Sharon Chen is an Integrative Nutrition Health Coach and author of the Complete Sous Vide Cookbook. She believes food not only brings healing but also connection. As the creator of StreetSmart Kitchen, she aims to make meal prep easier than ever and help you find balance, ease, joy, and simplicity in the kitchen as you improve your well-being.


Great tips on making minced garlic at home! I never realized how easy it could be. The video was super helpful too. Can’t wait to try this in my next recipe!
I fried my chopped garlic. Stored it in a jar. Leave it outside. And use it to flavor my sauces or soup.
The garlic has turned greenish but smells fine. Can you still eat it? It’s been maybe about 2 weeks.
I don’t recommend eating it if it has turned green.
Are you kidding? This is a dangerous page. You never once mention the danger of botulism. Garlic in oil is very susceptible to botulism and shouldn’t be stored more than a few days in the fridge.
I ran out of olive oil. Can I use extra virgin coconut oil instead?
You can try that with a small batch. I think olive oil works the best.
My garlic turned “white-ish” is this normal?
Has anyone tried to use peanut oil instead of canola or extra virgin olive oil? I have a ton of it and would like to use this instead. Thank you.
If you put it in any other oil besides olive it will not solidify in the fridge. I use canola.
When freezing use an ice cube tray for individual portions
That’s a genius idea! Thanks for sharing, Tanya!
I do this with freezing herbs for soups, sauces and it stores well dumped into a freezer-safe ziplock style bag. Thanks for bringing that up.
When I stored the garlic in olive oil in the refrigerator it solidified. Is that normal? Thanks.
Yes, it’s normal because if your fridge’s temp is low, it will solidify.
Will this effect the taste or usability of the garlic? Thanks.
Will it effect the taste or usability of the garlic? Thanks
Based on my personal experience, no. The solidified garlic and oil quality are still the same when warming up in a pan.
Great, thank you!
Canola or vegetable oil does not solidify – I use canola.
I guess the big guy has been looking out for me for years or maybe it’s just dumb luck. I absolutely am not making fun or making a joke. I buy my garlic at Costco usually( the unpeeled variety). I chop a few cloves of garlic ,put it in olive oil and store it in my pantry. When the cloves get brown and yucky looking I throw them away and add new garlic. I never heard anything about the botulism issue. I just happened upon this while googling how to best store minced garlic🙄😳
Sorry, really bad advise that could kill people and yourself.
Botulism bacteria can grow in the refrigerator, in just matter of days.
Perhaps you are killing the bacteria by thoroughly cooking.
However, mincing garlic in oil and freezing is 100% safe and much more convenient.
Just use within 4 months.
I have been doing this for a couple of years exactly like you suggest. When I ran across all of the warnings of botulism when storing garlic in olive oil, I was very concerned. Those warnings are all over the Internet. Why is that?
Hi Diane, according to my research, when storing garlic in oil, it cuts off the air supply to the garlic, creating an ideal environment for the botulism bacteria to grow if it’s in the room temperature. So the key here is to always refrigerate garlic in oil. Make a small batch every time to use it up in a week or so. If you are still concerned, you can store your minced garlic in balsamic vinegar and keep it in the fridge. Here’s more info regarding this topic: https://www.livestrong.com/article/485148-eating-raw-garlic-botulism/
Hope that helps.
Everything that I am on reading other sites says uncooked in oil in fridge is good for 4 days. Cooked, then stored in olive oil in fridge, then it is good up to 2 weeks. Freezer for longer.
Garlic in oil has a risk for botulism. It’s important to keep the oil in the refrigerator. Date the product and throw it away after 2 to 3 weeks. The following site has a great deal of information on the topic. https://cheftalk.com/threads/infused-oils-safety-question.13025/ The most essential information is the study done by the National Center for Home Food Preservation. It is posted by Nicko on December 28, 2004. Here is an acidified garlic product that Rick Bayless’ claims can be kept up to 3 months. http://www.rickbayless.com/recipe/garlic-mojo/
Oh yea, it must be kept in the fridge. I should have made it more clear in my post. And as an avid home cook, I usually go through a batch in less than 2 weeks. Thanks so much for your comment. I am going to update the post.
Thanks for sharing this recipe! Do you know if you can freeze it as well?
I’ve never tried to freeze it because I always end it up using it all within a couple weeks and I make a new batch. So I can’t say from experience…
Yes, it freezes fine. And according to the University of California department of agriculture and natural resources, doing so is much safer then storing it in the refrigerator. They recommend storing garlic and olive oil for only 4 days in the refrigerator but suggest that it can last for several months in the freezer.
https://www.google.com/url?sa=t&source=web&rct=j&url=http://ucfoodsafety.ucdavis.edu/files/250352.pdf&ved=0ahUKEwiTk5X-u9bZAhUMhuAKHUBHBeoQFggnMAE&usg=AOvVaw1yH7Af_H8TNZspHDsYDXkq
Just cut it up and put it in the fridge. Can’t wait to try it . The type you buy has a chemical taste to me. So excited to have something just as easy without the after taste.
Excellent. Hope it turned out well for you! It’s just so convenient to have minced garlic available at all times. Of course, homemade is always better. 🙂
Thank you so much….just what I needed.
Now I can save money and make my own minced garlic….
Just made a mason jar full to share with my sister. Whoo hoo!!!!!!
You are very welcome, Linda! Glad that you found this tip helpful. Hope your sister enjoys it. 🙂
This was super handy and useful! Definitely going to try!
Thank you for this! This would save me so much time!
You make it seem so easy. I am going to get brave and try to make some.