How to Make Kimchi: A Step-By-Step Guide
A step-by-step guide to show you how to make kimchi at home in just 7 steps.
I’d be brutally honest with you by stating this upfront – making kimchi at home is not difficult but it takes a decent amount of time and patience. If you are unable to set aside a couple of hours to do it, then I’d suggest you buy kimchi at Asian markets. If you are thinking about giving it a shot, then you are in for a treat and you won’t regret it!
Now that the exceptions are set, let’s dive in.
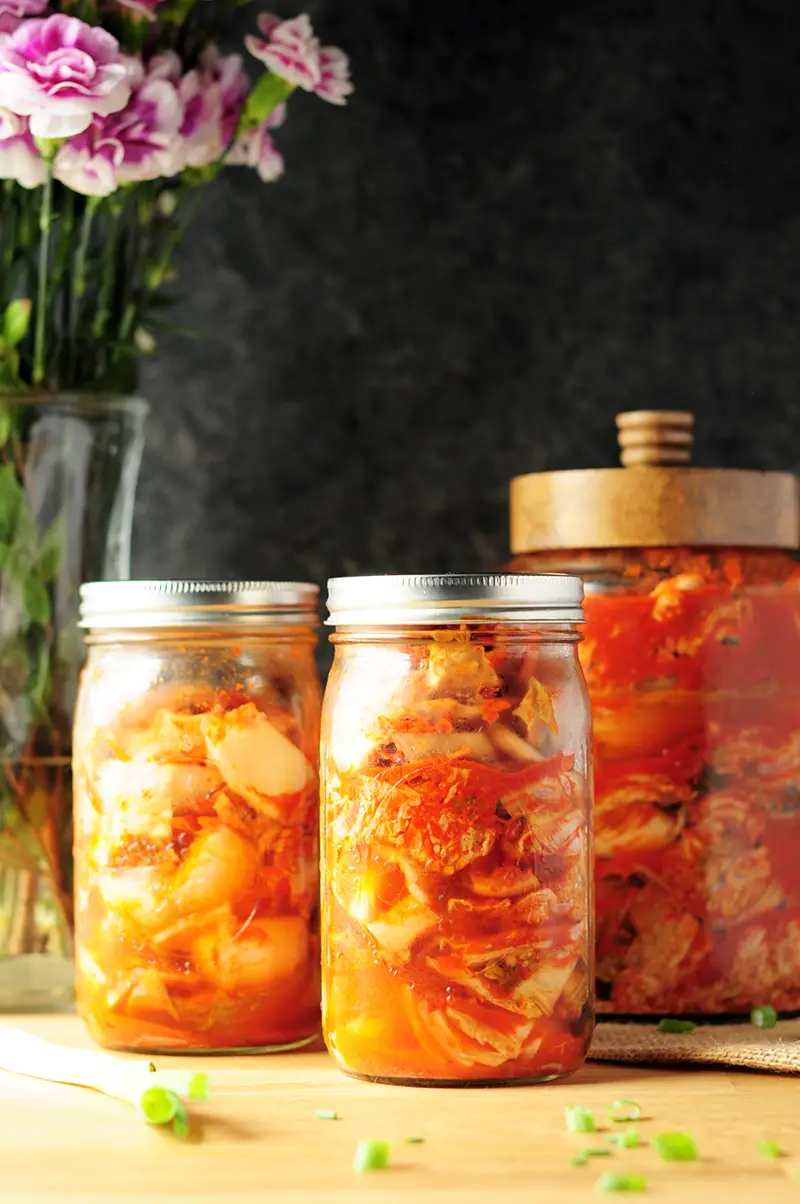
Why Kimchi?
Because it’s delicious! Duh!
The other important reason is that fermented food like kimchi, sauerkraut, and pickles have beneficial bacteria called probiotics which keep your digestive system clean, decrease blood pressure, and even keep your teeth intact. There are many other health benefits of probiotics and creating a favorable environment for gut healing is one of them.
Therefore, kimchi is not only delicious but also good for you!
Why Homemade Kimchi?
For something that you can buy for a few dollars, why go through the trouble to make it at home? Here are a few reasons that have convinced me to make kimchi at home. See if they resonate with you too.
- If you follow this guide, you’ll end up having around 8 pounds of homemade kimchi to enjoy for a very very long time. It’s significantly cheaper than buying 8 pounds of kimchi from a store.
- You’ll be able to adjust the flavor by adding seafood and control the spiciness according to your liking.
- Homemade kimchi makes a great gift and you don’t have to worry about it going bad.
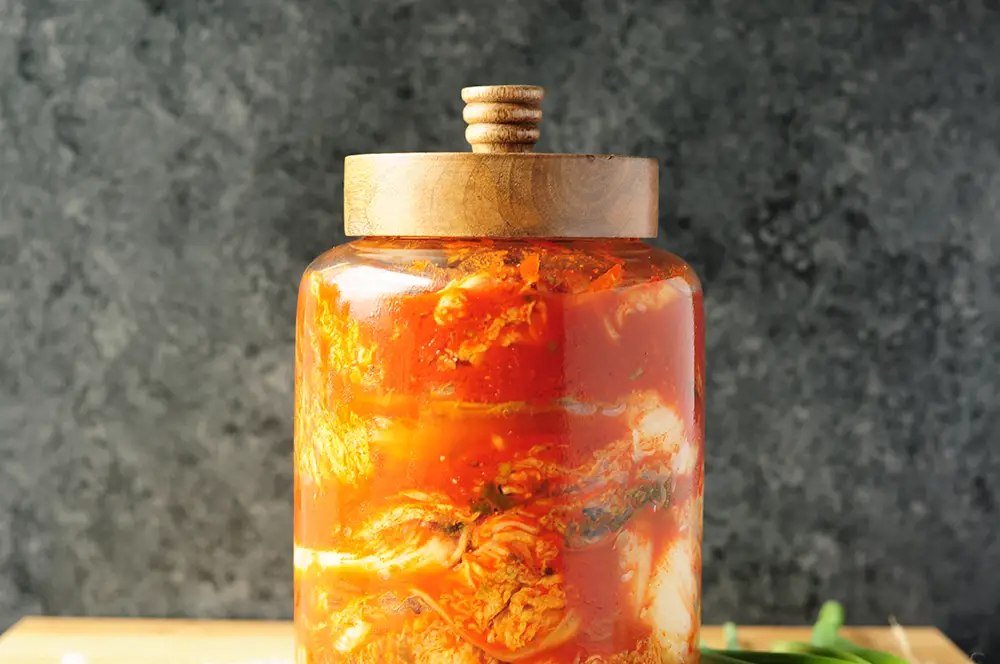
I am also going to share plenty of recipe ideas using kimchi as an ingredient so that you can enjoy your kimchi in different ways. Sounds good?
What I am about to show you is a step-by-step guide to making Korean traditional kimchi at home. I learned the techniques from a Korean blogger Maangchi and one of my followers on Instagram said that only old Korean women do it. I am not sure how to respond to that comment but I am going to take it as a compliment because it means I did a legit job, right?
How to Make Kimchi in 7 Steps
Step 1: Prepare Napa Cabbage
Things you need:
- 4 napa cabbages
- A sharp chef’s knife
- A large cutting board
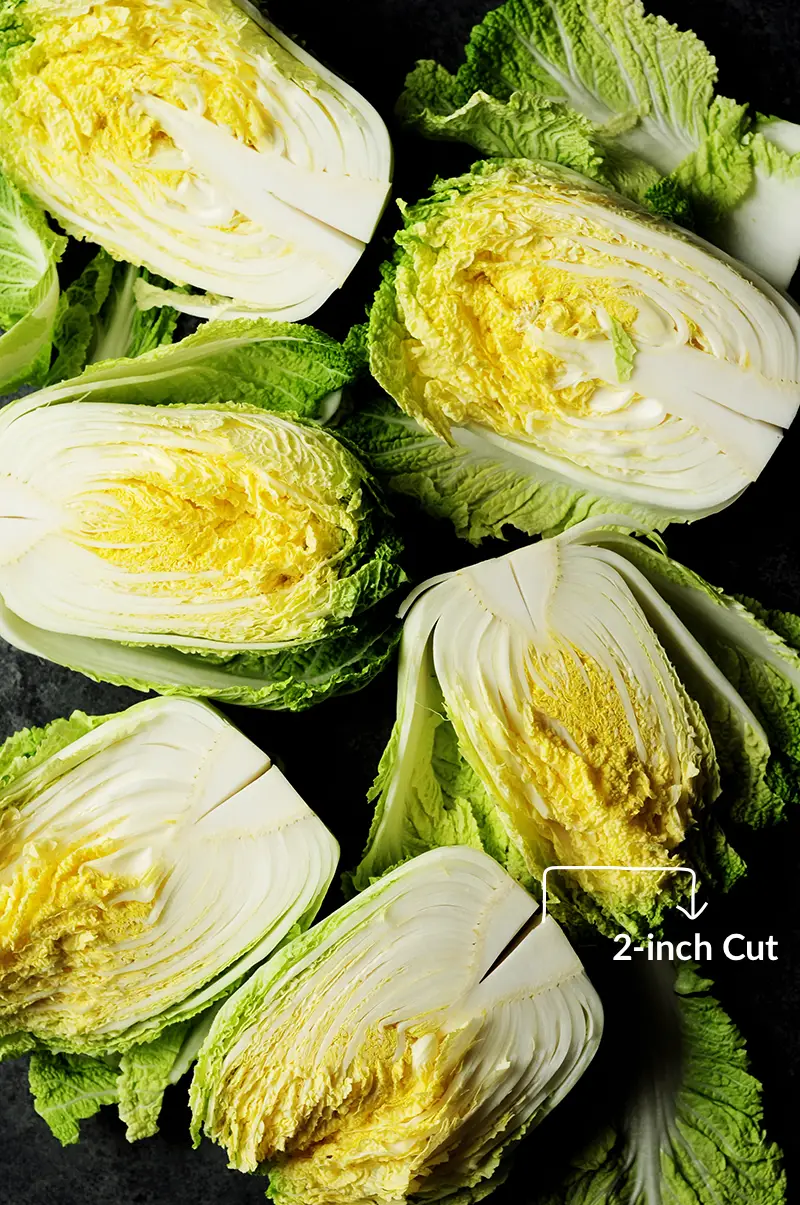
Trim the cabbage cores and cut each cabbage in half.
Make a 2-inch cut through the core of each half of the cabbage. You want the cabbage leaves to be loose but still attached to the core. This is to create room between the leaves for salting the cabbage in the next step. Don’t worry about cleaning the cabbage yet. We will take care of that in the next step too.
Note: Maangchi recommends cutting a short slit in the head of the cabbage where you can get a grip with both of your hands on either half and then gently pull apart the cabbage to split it open. It’s to avoid shredding the densely packed leaves inside. However, I found that no leaves were shredded when I cut my cabbage straight open in half.
Step 2: Salt The Cabbage
Things you need:
- 1 or 2 large containers to hold the cabbage such as a roasting pan or big baking dish, etc.
- 1/2 cup kosher salt or more if needed
- 1 pair of disposable kitchen gloves
- 1 strainer
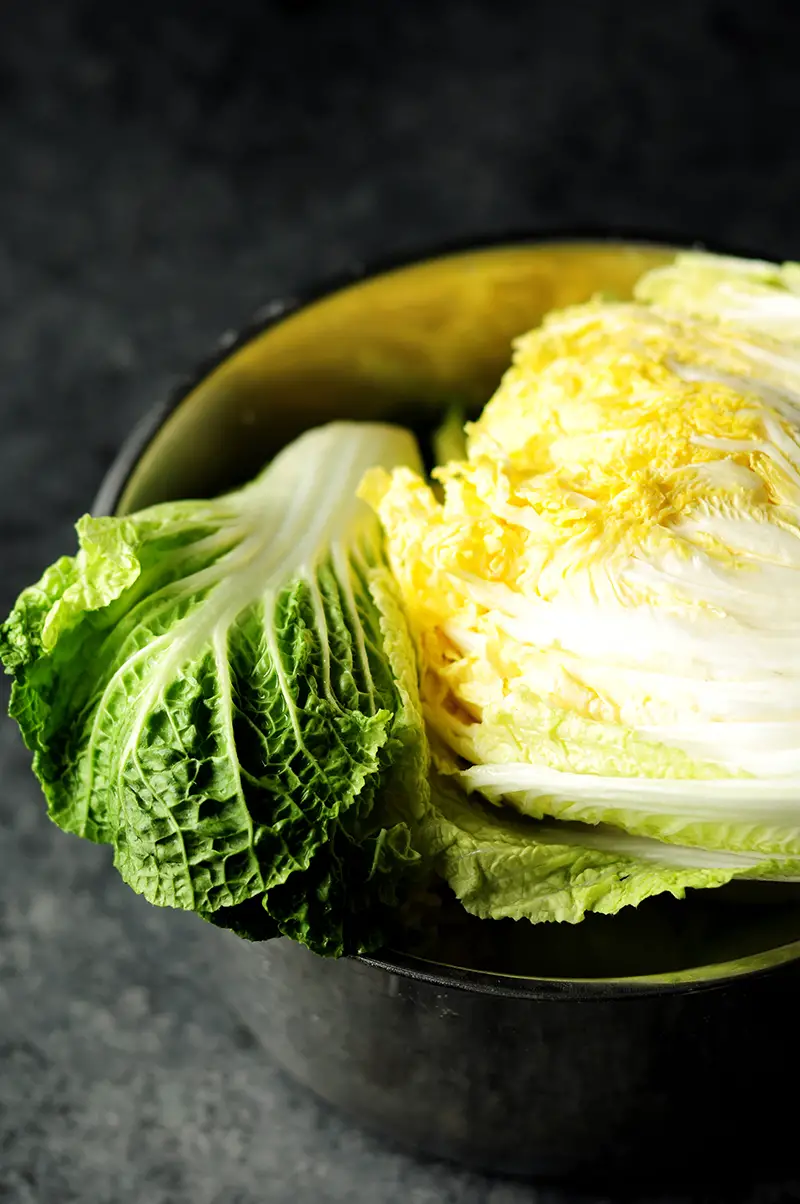
Soak the cabbages in water to get all leaves wet. Discard the water. Wear gloves and rub the salt in between cabbage leaves by lifting up every leaf. Use more salt around the stems where the leaves are thicker.
Let the cabbages rest for 2 hours to get well salted. The liquid from the cabbages will be extracted and the cabbage will be softened during the salting process. Turn the cabbages over once every 30 minutes.
After 2 hours, rinse the cabbages well under cold running water. Remove salt and dirt. By now, the cabbages should be soft. Split the halves into quarters along the slits you cut in the first step. Drain the cabbages well.
Step 3: Make Kimchi Paste Base
Things you need:
- A medium saucepan
- A wooden spatula
- 2 cups water
- 2 tablespoons sweet rice flour
- 2 tablespoons brown sugar
- A large mixing bowl
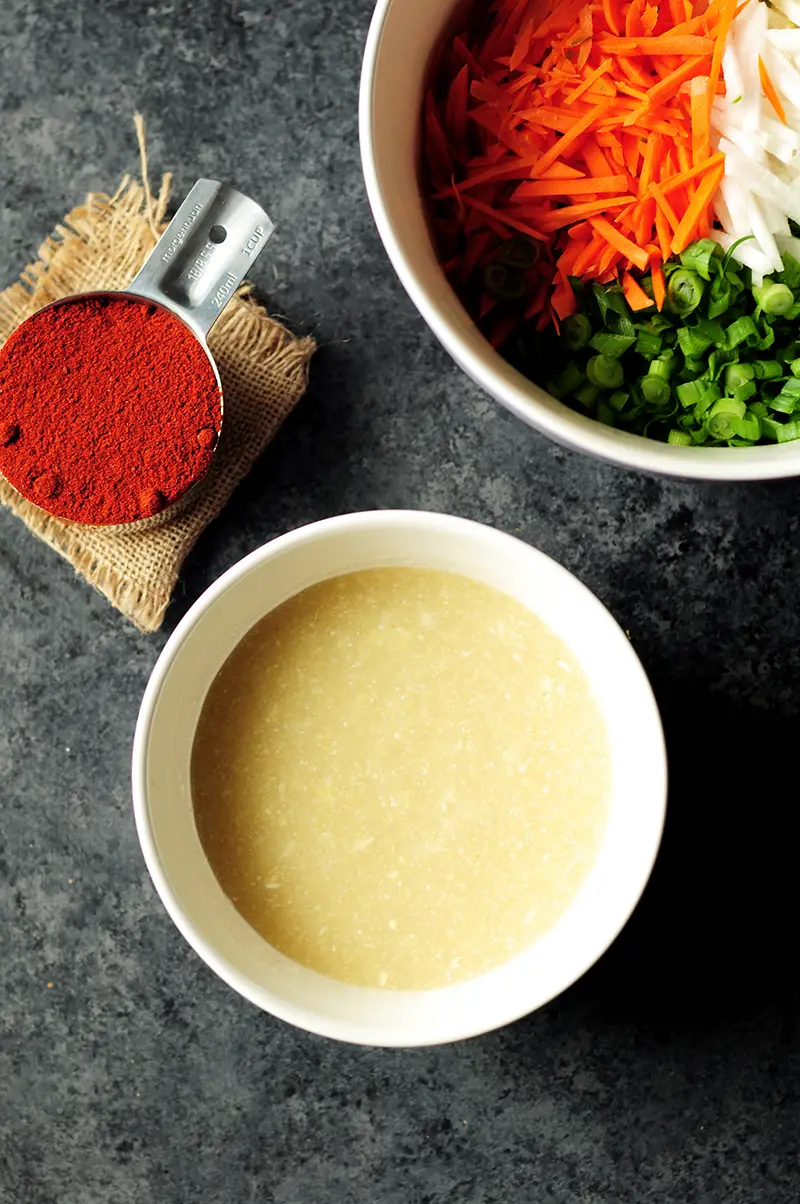
While the cabbages are salting, make the kimchi paste base, which looks like a porridge. In a medium saucepan, combine water and sweet rice flour. Mix well and let it cook over medium heat for about 10 minutes until the mixture is bubbly. Add sugar and cook for another minute, stirring constantly. Remove the base from heat, pour it into a large mixing bowl and let it cool completely.
Step 4: Prepare Vegetables and Other Ingredients
Things you need:
- A vegetable peeler
- A food processor
- 2 cups daikon matchsticks
- 1 cup carrot matchsticks
- 10 stems green onions, chopped
- 24 garlic medium garlic cloves (about ½ cup minced garlic)
- 1 1-inch chunk ginger (about 2 teaspoons minced ginger)
- 1 medium white onion
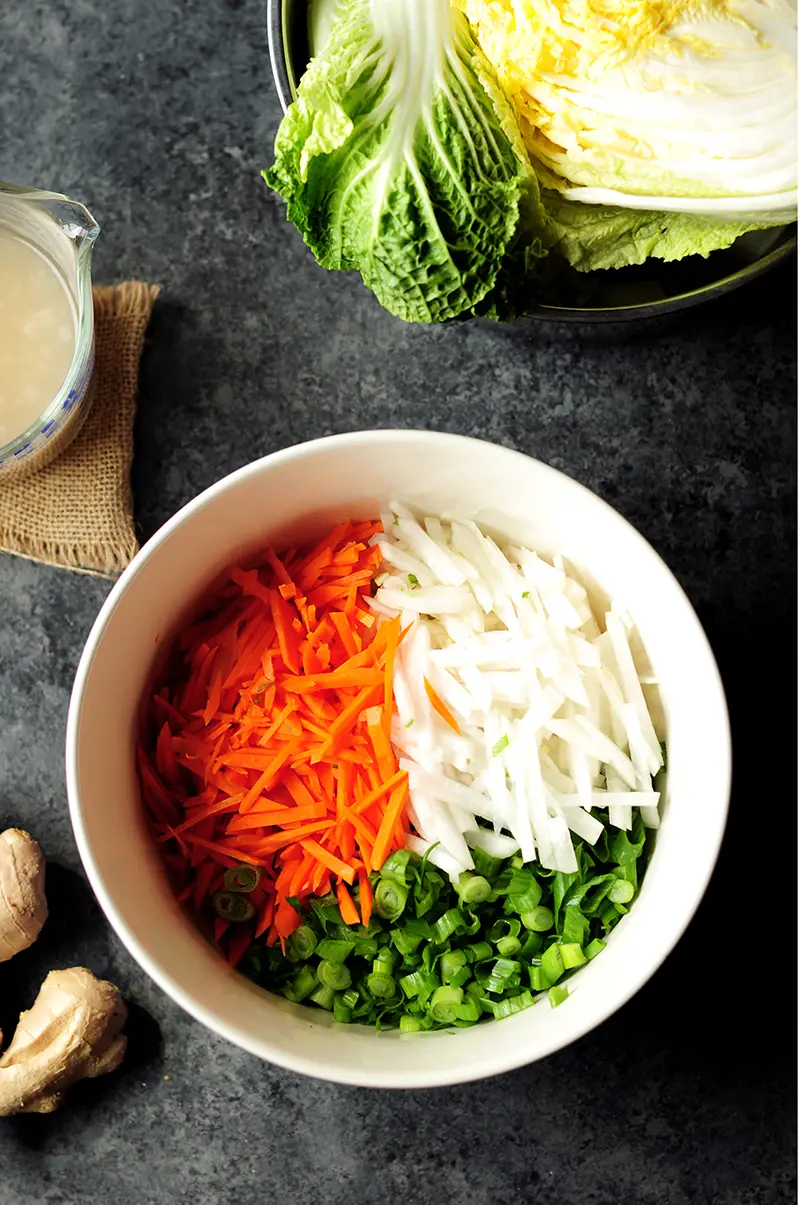
Now, let’s do some chopping. Peel daikon and carrots and cut them into thin matchsticks. Set aside. Chop green onions and place them together with the daikon and carrots.
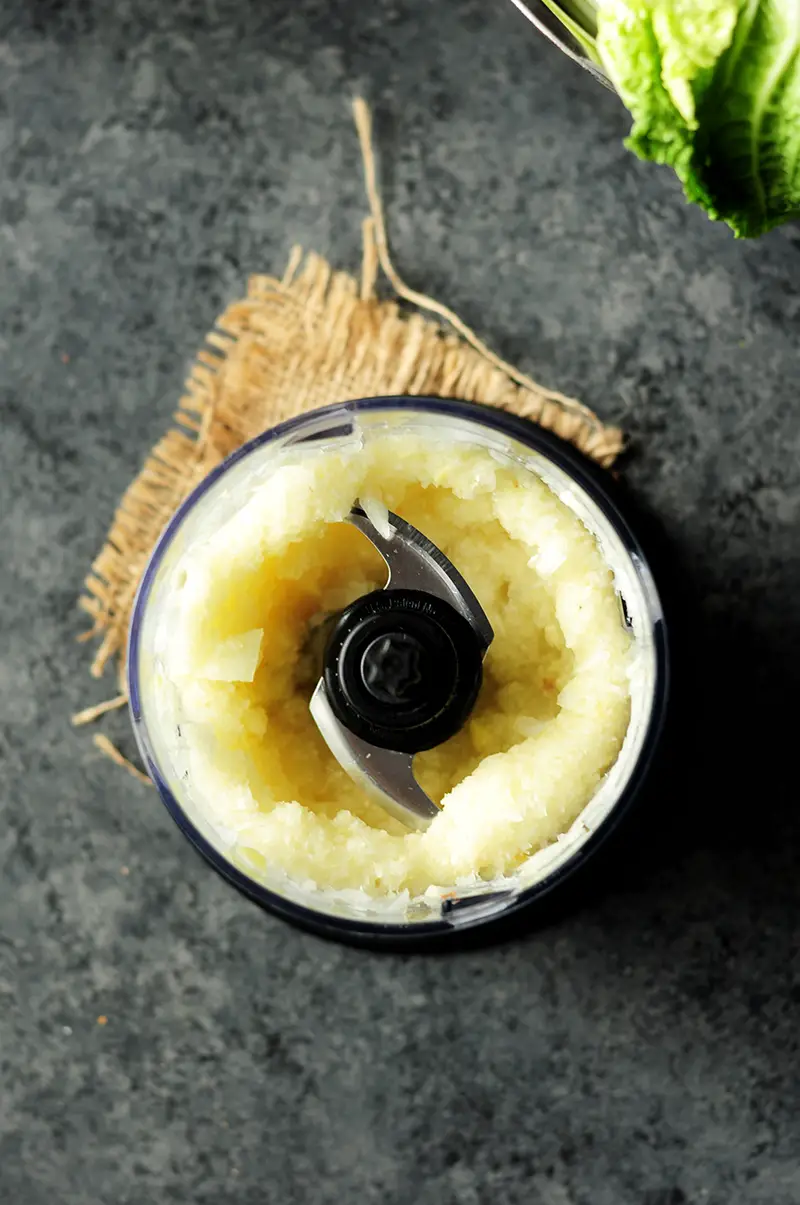
In a food processor, add garlic, ginger, and white onion. Process until the ingredients are very finely chopped and the mixture is almost like a paste.
Step 5: Assemble Kimchi Paste
Things you need:
- ½ cup fish sauce
- 1/4 cup dried mini shrimp or smoked sardines, optional
- 1 ½ – 2 cups Korean chili powder
Alrighty, most of the prep work is done. It’s time to assemble the kimchi paste. Check on your kimchi paste base in the large mixing bowl. If it’s completely cool by now, empty your food processor by adding chopped garlic, ginger, and white onion in the base, followed by fish sauce.
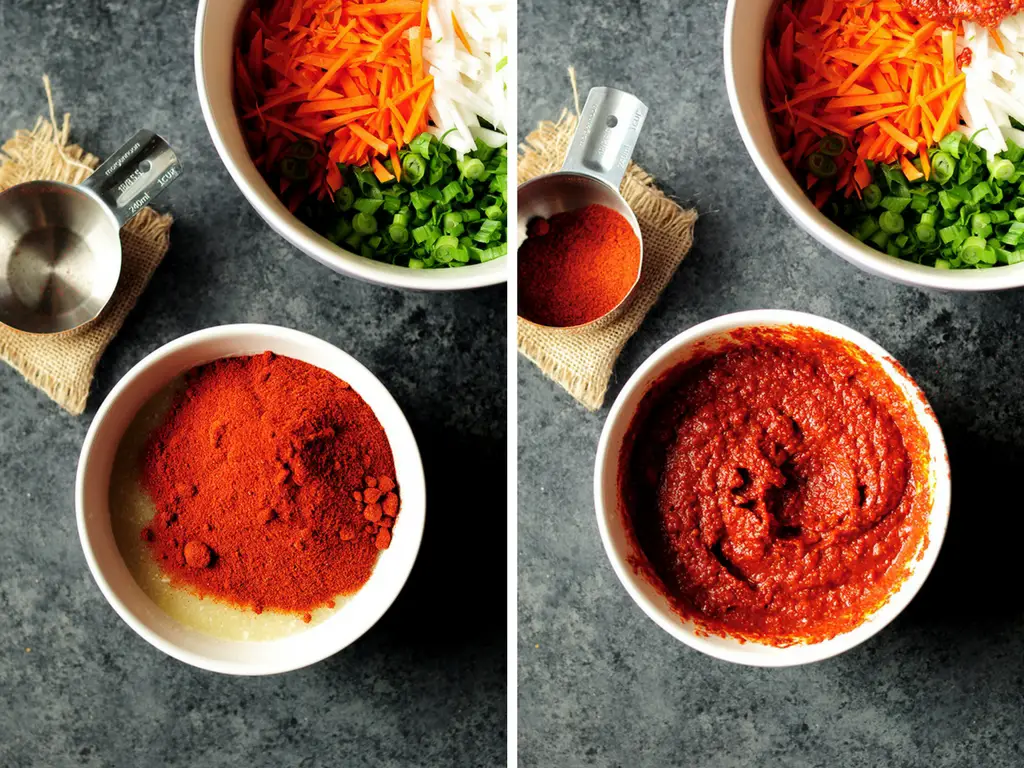
This is also the time to add your preferred seafood to your kimchi. I added dried mini shrimp. I’ve tasted homemade kimchi with smoked sardines once and it was absolutely delightful. Anyhow, the seafood part is totally optional.
Now, here comes the most important ingredient – Korean chili powder. This is the same kind of pepper that I use to make hot chili oil at home. This will make your kimchi paste scary red and it’s what makes the kimchi. If you don’t want your kimchi to be too spicy, start with 1 cup. I made mine with 1 ½ cups Korean chili powder and it’s perfect for my taste.

Mix the mixture well until it turns into a thin paste. Now, add chopped daikon, carrots, and green onions. Mix again.
Step 6: Make Kimchi
Things you need:
- 1 pair of disposable kitchen gloves
- 6-quart slow cooker inner bowl, jars, or plastic containers
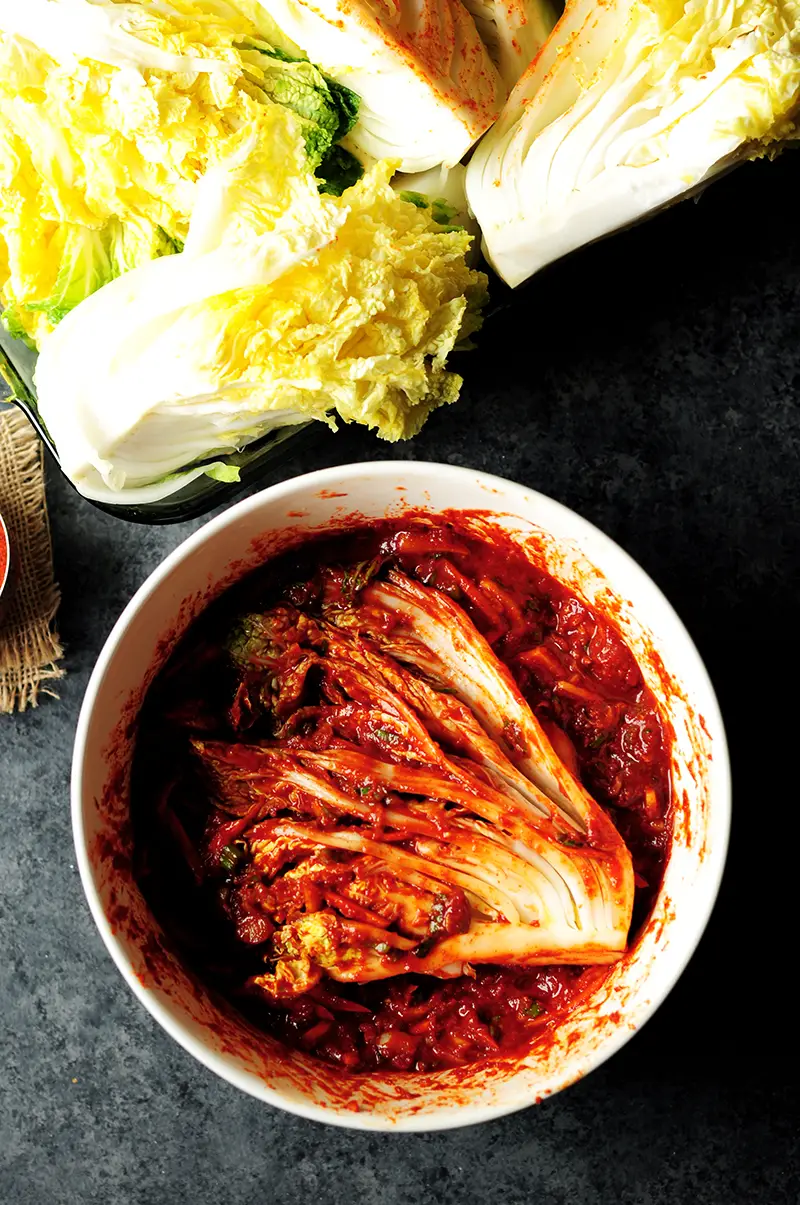
Prepare your containers for the kimchi before getting your hands dirty. Koreans use something called onggi to store kimchi. But you can also work with what you have. For example, I used my slow cookers for this purpose.
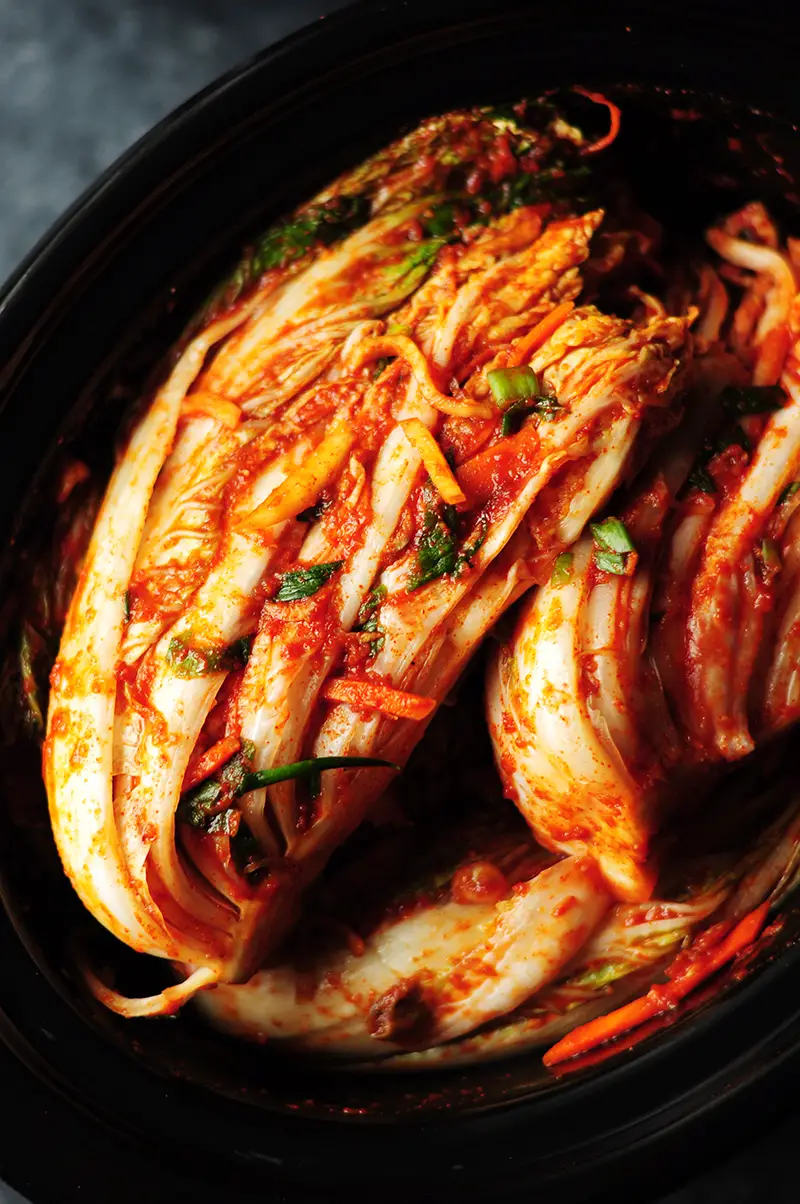
Once you’ve got your containers ready, wear gloves and press the cabbage quarter in the kimchi paste, one at a time, spreading some paste on each cabbage leaf. When the cabbage quarter is covered with the kimchi paste, lift it up and fold the leaves towards the core. Place it into your container. Repeat this step until all cabbages are handled.
Step 7: Start Fermentation
Cover the kimchi and let it sit in the room temperature for a day or two. It will start fermenting. The warmer and more humid your environment is, the faster the kimchi will ferment.
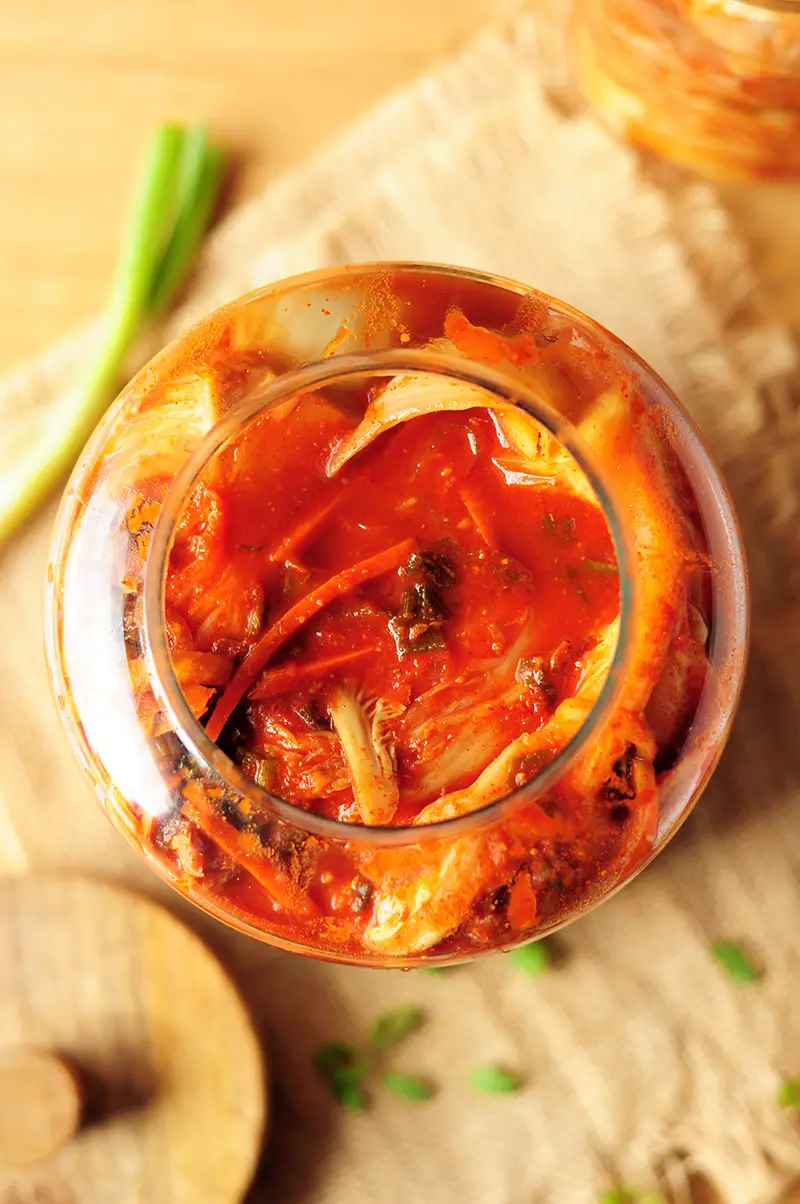
After a day or two, press the kimchi with a spoon, if you see bubbles from the top, it means your kimchi is fermented. The kimchi will continue fermenting as time goes on. So storing it in the fridge from this point on will slow down the fermentation process.
Ways to Enjoy Kimchi
What an accomplishment! Now that you’ve got 8 pounds of kimchi at home, I can’t wait to learn how you enjoy it. I love pairing it with my fried eggs for breakfast. It goes really well with frittatas. On top of that, you can use kimchi as an ingredient to make delicious and quick meals like Kimchi Fried Rice, Korean Beef Lettuce Wraps with Kimchi, and how about an epic bowl of Kimchi Ramen?
Print
Traditional Kimchi Recipe
- Prep Time: 2 hours 20 minutes
- Cook Time: 10 minutes
- Total Time: 2 hours 30 minutes
- Yield: 8 Pounds Kimchi 1x
- Category: Appetizer, Gluten Free
- Cuisine: Korean
Description
A step-by-step guide to show you how to make traditional Korean kimchi at home in just 7 steps.
Ingredients
For salting cabbage:
- 4 heads of medium napa cabbage (about 6 pounds)
- 1/2 – 1 cup Kosher salt
For making the kimchi paste base:
- 2 cups water
- 2 tablespoons sweet rice flour (glutinous rice flour)
- 2 tablespoons brown sugar
Vegetables:
- 2 cups daikon, cut into matchsticks
- 1 cup carrot, cut into matchsticks
- 10 stems green onions, chopped
- 24 medium garlic cloves (about 1/2 cup minced garlic)
- 1 1-inch chunk ginger (about 2 teaspoons minced ginger)
- 1 medium white onion
Seasonings and spices:
- 1/2 cup fish sauce
- 1/4 cup dried mini shrimp or smoked sardines, optional
- 1 1/2 – 2 cups Korean chili powder
Instructions
- Trim the cabbage cores and cut each cabbage in half.
- Make a 2-inch cut through the core of each half of the cabbage. You want the cabbage leaves to be loose but still attached to the core.
- Soak the cabbages in water to get all leaves wet. Discard the water. Wear gloves and rub the salt in between cabbage leaves by lifting up every leaf. Use more salt around the stems where the leaves are thicker.
- Let the cabbages rest for 2 hours to get well salted. The liquid from the cabbages will be extracted and the cabbage will be softened during the salting process. Turn the cabbages over once every 30 minutes.
- After 2 hours, rinse the cabbages well under cold running water. Remove salt and dirt. By now, the cabbages should be soft. Split the halves into quarters along the slits you cut in the first step. Drain the cabbages well. Set aside.
- While the cabbages are salting, make the kimchi paste base. In a medium saucepan, combine water and sweet rice flour. Mix well and let it cook over medium heat for about 10 minutes until the mixture is bubbly. Add sugar and cook for another minute, stirring constantly. Remove the base from heat, pour it into a large mixing bowl and let it cool completely.
- Now, prepare vegetables. Peel daikon and carrots and cut them into thin matchsticks. Set aside. Chop green onions and place them together with the daikon and carrots. Set aside.
- In a food processor, add garlic, ginger, and white onion. Process until the ingredients are very finely chopped and the mixture is almost like a paste.
- Assemble the kimchi paste by adding chopped garlic, ginger and white onion in the base, followed by fish sauce and hot pepper flakes. If you want to add seafood, add it now.
- Mix the mixture well until it turns into a thin paste. Now, add chopped daikon, carrots and green onions. Mix again.
- Time to make the kimchi. Wear gloves and press the cabbage quarters in the kimchi paste, one at a time, spreading some paste on each cabbage leaf. When the cabbage quarter is covered with the kimchi paste, lift it up and fold the leaves towards the core. Place it into containers such as jars and inner pots of crockpots. Repeat this step until all cabbages are handled.
- Cover the kimchi and let it sit in the room temperature for a day or two. It will start fermenting. The warmer and more humid your environment is, the faster the kimchi will ferment.
- After a day or two, press the kimchi with a spoon, if you see bubbles from the top, it means your kimchi is fermented. The kimchi will continue fermenting as time goes on. So storing it in the fridge from this point on will slow down the fermentation process.
- When ready to enjoy, chop the kimchi and serve.
Notes
Recipe adapted from Maangchi.
Nutrition
- Serving Size: 1
- Calories: 32
- Sugar: 15.2g
- Sodium: 2179.7mg
- Fat: 1.2g
- Saturated Fat: 0.1g
- Carbohydrates: 42.9g
- Fiber: 5.3g
- Protein: 8.3g
- Cholesterol: 0mg
About the Author
Sharon Chen is an Integrative Nutrition Health Coach and author of the Complete Sous Vide Cookbook. She believes food not only brings healing but also connection. As the creator of StreetSmart Kitchen, she aims to make meal prep easier than ever and help you find balance, ease, joy, and simplicity in the kitchen as you improve your well-being.


I am wondering about the chili flakes. Looks like it is more of a powder, do you powder the flakes? Looks great, thank you for the detailed pictures.
Hello Sandy, thank you for your comment. You are right – it’s actually powder, not flakes. I’ve updated the info in the post.
Thank you so much I will definitely make this kimchi sound delicious.
Hi, Sharon. I followed the recipe precisely, it’s been a day and a half now, bubbles are showing. But I tasted the kimchi sauce and it’s not salty. Can I add salt now or is it too late?
Thanks!
Hi Yulia, I think you can try to add a bit of salt now but I would recommend you do it in a small batch just to see how it goes.
Im all about culinary fusions and what I have found is that blue cheese and Kimchee go hand in hand! Like Veggies and blue cheese dressing…
Interesting. I would have never thought about this pairing. I’ll have to try it. Thanks for the suggestion. 🙂
I mix mayo into mine. It’s so good.
I love Maangchi’s recipes. I just made this kimchi a week ago, I had been craving it so much. Yep, I finish mine in about 2 weeks as well (all by myself). I actually had it on some loaded french fries once and it was so good.
Hi Yi, thank you for stopping by. I love kimchi fries too!! Try it in burgers next time. 🙂
Pingback: Korean-Style Oatmeal with Kimchi and Tofu - World Top Business Systems
Pingback: Korean-Style Oatmeal with Kimchi and Tofu
Thnx for the recipe! awesome taste!
One question. Can the cabbage be cut up in big chunks at the beginning of salting vs leaving with the core on? Seems it would be easier to use instead of fighting with the core in the final product in the jar
Thnx for relying!
Jeanette
Hi Jeanette! The reason I leave the core of the cabbage on is that it will help with the salting process and intensify the flavor since the leaves are more attached. If it’s too much hassle for you, you can certainly make it easy to cut up the cabbages first. But I found that it’s actually easy to rinse off the salt with the corn on. Hope that’s helpful. Cheers!
Pingback: One-Pot Kimchi Ramen
So I’m just interested in 8 lbs equal what size jar / jars if at all possible also what does this recipe equal on the hot scale I was just wondering I’d be easier to figure out how much to put in as. Well I really hope the recipe turns out as good as I think it’s going to also are their any ingredients that are dont’ts for kimchi in your opinion?
I used a 1-gallon glass jar, plus 3 32-oz mason jars to store the kimchi based on this recipe. Any food that doesn’t last long should not be put in your kimchi, in my opinion. Hope that helps.
why do you have to put it in the fridge, why cant you leave it in a cupboard. If not how come you can buy it on the shelf at Asian stores. I make a lot of sauerkraut and leave on bench for a few days till all the gas is gone and then tighten the lid and store in cupboard I have had them for over a year and they taste great. after You got salt and sugar witch is a preserver.
Hi John! You can leave it in a cupboard for sure. Putting it in the fridge slows down the fermentation process, which will have a bit of different taste when you enjoy the kimchi. Also, a proper container designed for fermented foods is helpful. I don’t have any. So just to be safe, I store my kimchi in the fridge. Thank you for sharing your experience though. That’s very helpful.
Pingback: Kimchi – The National Pride of Korea – Food Baby Traveling Far
Pingback: Attempt These Eight Fermented Meals for a Wholesome Intestine - Creative Life Art
Pingback: Try These 8 Fermented Foods for a Healthy Gut - Creative Life Art
Pingback: Try These 8 Fermented Foods for a Healthy Gut
Is the rice flour a MUST ingredient in kimchi making? If I have put it in for refrigerate before it was fermented, will it still turn sour later on? Thank you!
I would say yes, the rice flour is essential in kimchi making, in my opinion. I would recommend you start the fermenting process at room temperature for at least one day before refrigerating.
Hi….this looks so delicious. I’m so looking forward to preparing it. One question….this does not need to be air tight sealed like saurkraut? Did you use just a regular glass lid from your slow cooker?
Yes, I just used a regular glass lid from my slow cooker. It does not have to be air tight sealed. 🙂 Hope this turns out well for you!
Hey Sharon
What Asian foods go good with
Beer?
Hey Jason, what specific Asian foods are you thinking?
Generally, can’t go wrong with beer especially if it’s spicy. 🙂
I’d like to make double the recipe, and can it to preserve it. How do you go about canning kimchi?
Hi Nicole, I don’t have experience of canning. But kimchi is a fermented food, so it can last for a very long time. It will continue to age in your refrigerator and will be delicious for up to 12 months. I did some research. It seems that as long as you keep kimchi in cool temperature and away from oxygen, it can last for years. Hope that helps.
I’ve read so many great things about the benefits of kimchi but I haven’t ever tried it! I think I might need to after reading this! Looks great!
Kimchi is great. If you have any questions about the process, feel free to ask. Hope you enjoy! 🙂
Thanks for sharing! I did not know about all the added health benefits you can get from Kimchi!
I love Kimchi!! What a great and helpful recipe! 8 lbs would last a very, very long time!
I thought so too, but I finished my 8 lbs in two weeks. lol
I love Kimchi, but have never attempted to make it myself before. It doesn’t look that hard to do. I might have to make this soon!
I honestly have never heard of kimichi! This post made me want to try it ? Thank you for sharing!
Yum! I love that you included “ways to enjoy Kimchi.” As someone who is not familiar with this fermented dish, I need that help! Thanks!
I love kimchi and always wanted to find a good recipe! Pinning for later!!